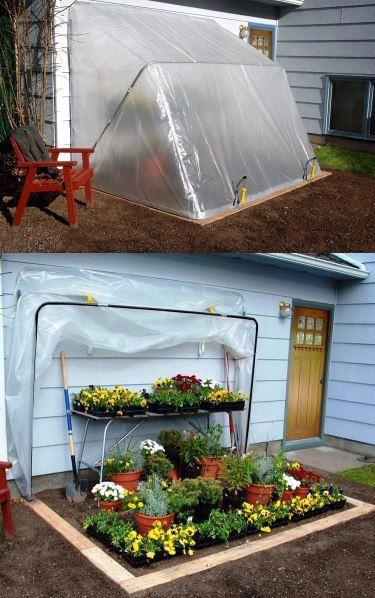
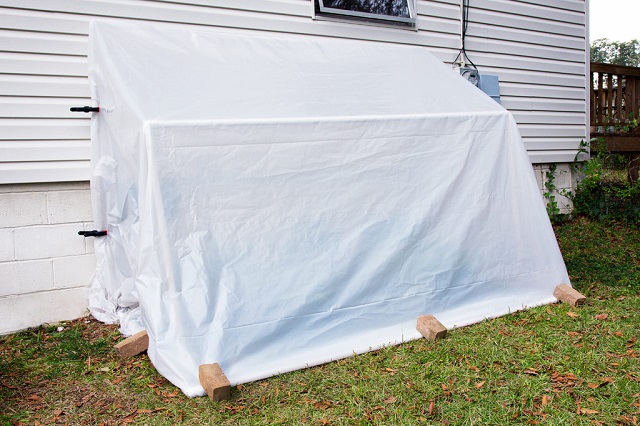
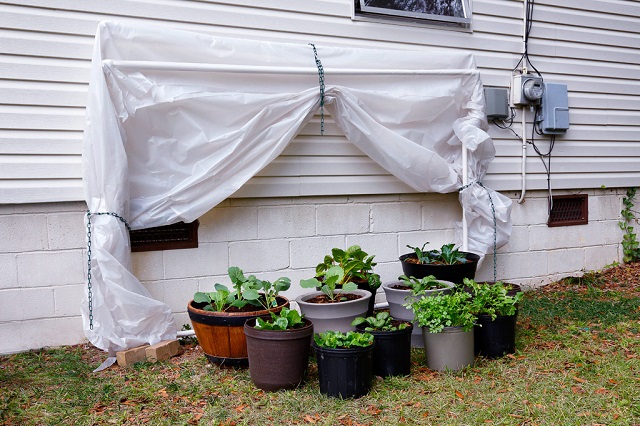
If your home isn’t in such a harsh and cold environment, you won’t need an entire greenhouse to protect the plants you worked hard throughout the year to grow. When you feel some tough weather approaching, make sure you’re ready with the drop-down greenhouse. This handy DIY project will allow you to have a beautiful and un-hidden garden while still being prepared for any kind of weather. The structure is not that heavy but still so sturdy a mild autumn wind won’t tear it down. Be careful not to leave any plant touching the structure, because it will conduct the cold to anything it touches. With a few PVC pipes, plastic sheet, and some cutting, you will be able to provide your plants with a quick and reliable piece of protection. Follow the instructions from the link below to the letter and make your own fold-down greenhouse in a few hours.
List Of Tools:
hacksaw, jigsaw, or miter saw
rubber mallet or sledge hammer
drill/driver
spring clamps
¾-inch soil/garden auger drill attachment (optional)

Parts List:
| Part | Quantity | Size |
| Back frame stiles | 2 | 1 x 72 |
| Back frame rail | 1 | 1 x 96 |
| Bottom frame back rail | 1 | 1 x 94 |
| Bottom frame stiles | 2 | 1 x 60 |
| Bottom frame front rail | 1 | 1 x 92 |
| Middle frame rail | 1 | 1 x 89¼ |
| Middle frame stiles | 2 | 1 x 44 |
To create the back frame stiles, insert a 72-inch length of PVC pipe over each piece of conduit. Slide a 1¼-inch PVC tee over each stile. Press each one into the ground as far as you can, making sure the remaining tee openings are facing each other, parallel to the wall. Place a 1-inch 90-degree elbow on the top end of each back frame stile, again making sure the openings are facing each other, parallel to the wall. Insert the 96-inch length of PVC pipe (the back frame rail) into the elbows at the tops of the back frame stiles
Place a 1-inch tee on each end of the 94-inch length of PVC pipe (bottom frame back rail), so that one point of each tee is perpendicular to the rail
Place a 1-inch 90-degree elbow on one end of each of the two 60-inch lengths of PVC pipe (bottom frame stiles). On the opposite ends, place a 1¼-inch tee on each stile, 45½ inches from the end. Attach tees to the stiles using #8 x ¾-inch lath screws
Thanks to Bonnie Plants for this great project. You can get step-by-step instructions here


Directions are for pvc version but I am more interested in aluminum design pictured here as well. Could you please provide plans or link for that version?
The aluminium tubing can be assembled from old tent poles (cheapest option at your recycle centre) and then tape the tubing to the sheeting, all the poles should be mounted to one peg at the rear so they fold out.
Please provide directions for aluminum design pictured.
For aluminum, can’t you just substitute that for PVC? Thank you for this terrific design! I have just the place for it. My question is, if I use planters on legs, ~3′ high, do I need to make it taller to protect against cold? Just wondering if there’s a minimum distance between plant and cover re the temp, or this is more to be able to stand under it and/or give room to tall plants. Also I’d love to know how to make one like this that is 4-sided rather than a lean-to; I want to protect young fruit trees in an open area.
Just double the sheeting. Or if you live in a cold climate, use black sheeting instead of white to draw in more heat, this will however require more watering, so if you plan to automate water cycles as well you could very much do that too using hydroponic solar water pumps.
What is the plastic?
the link is no longer working
Neither link works, PDF nor video.
Link is not working.
The wall I want to put this against is wood, should I use a layer of plastic over the side against the wood to protect it?
The links are no longer working. who can email me the link or the plans. Thanks