Plain wooden planks are commonly underrated as a material for decorating. But a creative addition to such a plank will definitely make it a beautiful piece with which you can improve the interior design of your home. Just use this simple DIY method of transferring a picture onto wood. The fun fact to remember about this project is that you will succeed in achieving the same result with as little as a picture, a printer, a couple of sheets of wax paper, and obviously a piece of wood.
Step 1: Materials:
Wood plaque to be printed on
Waxed Paper
Printer paper to fit your ink jet
Clear tape ( the easily removable type would be best)
credit card, or something similar to use as a squeegee
Scissors
Ink jet printer
Step 2:
Create your design
Step 3:
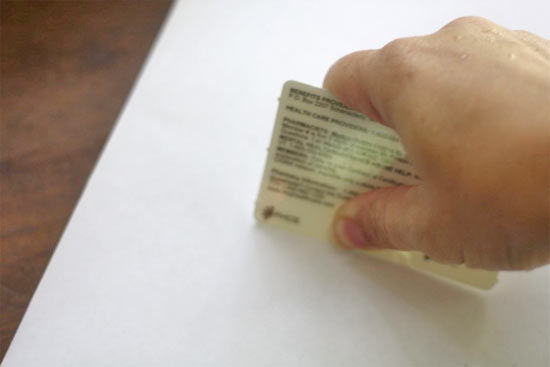
Cut a piece of wax paper the same size as your printer paper and tape it to the paper top and bottom. Make sure the edges are smooth.
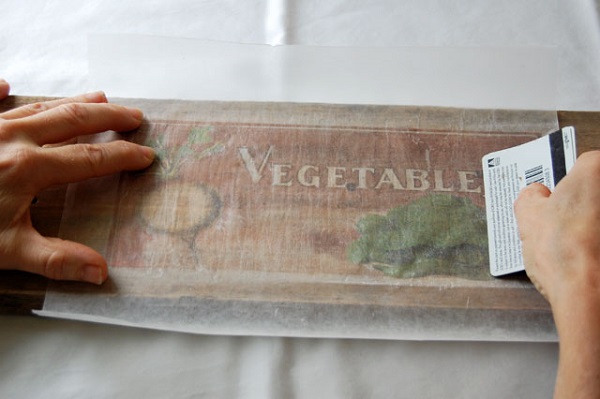
The process itself is quite simple and once you read the whole list of steps, you will be able to make a beautiful piece of decoration in no time. Make sure the plank of wood is smooth, because a rough barn – even though the visual aspect is much authentic or rustic – won’t take the image on it as good. Now, take your favorite image and follow the instructions in order to transfer it to the piece of wood you are going to decorate the home.
How to Print Pictures on Wood (Waxed Paper Transfer) or Transfer Designs using Wax Paper and an Ink Jet
DIY clippings are fantastic and educative, why dont you show how to cut a dress material for salwar kurtas, as its more educative and many more such cuttings etc.
Because this is an interior design and architecture magazine, not fashion.
Where’s the how-to? All I see are links to ads for crap in which I have no interest!
try clicking on the hyperlink that starts ‘how to..’
Then slow down your scrolling. The link is right under the last photo. Clear as all hell.
Gruntled: Ignore the arrows. Click on the sentence that’s in between them… It’s a link to the article.
The sentence starts out with “How to print pictures on wood….”
Thanks! what a geat idea, going to buy an ink jet just to try this!!!
Looking for info on transferring pictures to wood