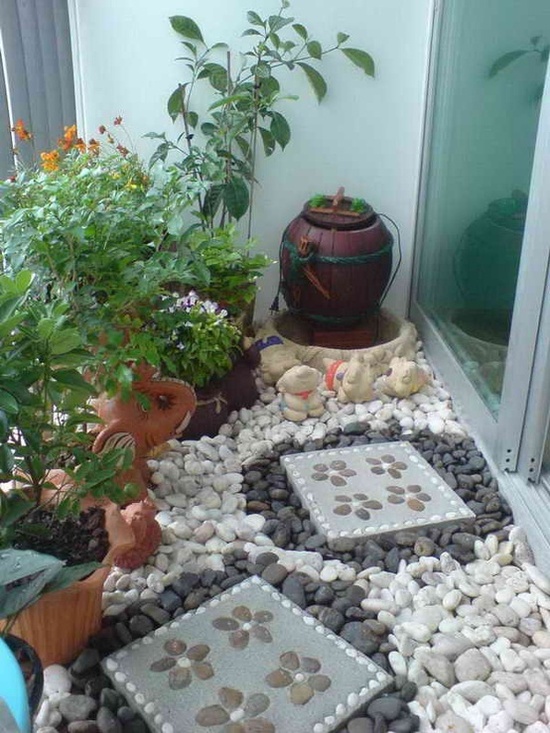
A beautiful garden does not have to be a big garden, pompous or located in a wonderful landscape. It would be ideal, but a beautiful garden to be, primarily,it must be organized and neat. Then follow the other aspects that need to be considered: space, furniture, accessories…Natural stone paths are favorites landscapers with fine tastes.Natural stone paths are favorites landscapers with fine tastes.The paths of sand, gravel or crack:Resulting paths will be one hundred percent natural and organic.The charm of this material has proven: Imagine a red geranium grown at the edge of any with white marble pebbles and you will understand the effect. How does it look ?

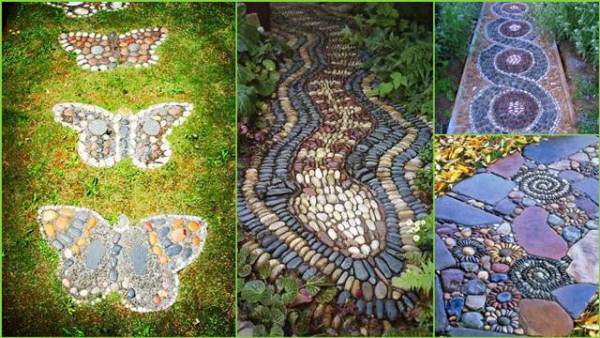
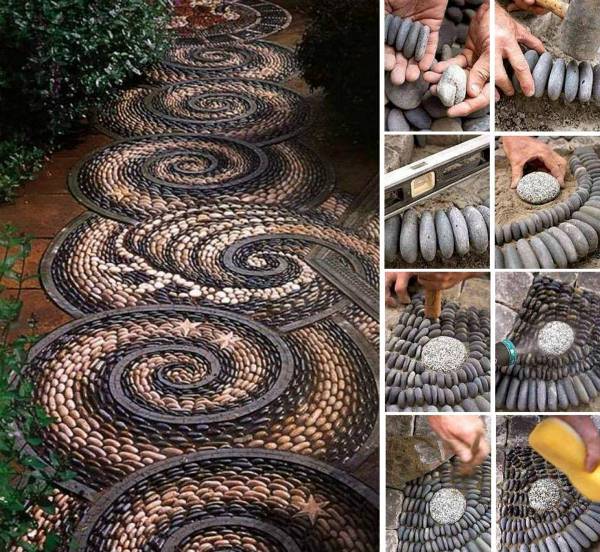
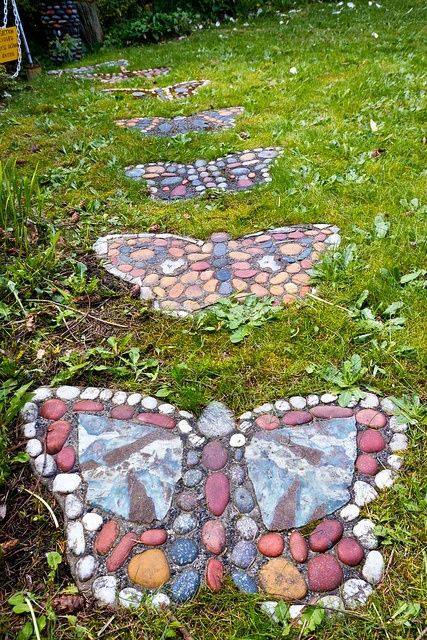









Are there instructions somewhere on how to make these very cool stone paths? Thanks!
not yet but will be soon
any yet??
Any instructions available?:) I would really like to try it soon before summer ends, the only thing I don’t understand from the photos is what is spraying over the stones, it is some kind of glue? be cause I don’t think is varnish since in the next photo they use a brush to apply something transparent and I think that one is the varnish.
Many thanks and any info are highly appreciated!
ehow.com/how_8749004_build-river-stone-path.html
why is there still no instructions on how to do the stone paths?
I WILL BE LOOKING FORWARD TO INSTRUCTIONS FOR THE WONDERFULLY COOL STEPPING STONES !
I love these!! Can’t wait to get the directions!! So excited to try to duplicate these awesome works of art!!
Any instructions yet? I was going to follow on Facebook, but these are just pictures of cool stuff but no instructions. I can do that on the Internet under images……
Seems to me you would make a mold, spread a little cement in the bottom to hold your stones in place, fill it with your stones, fill in gaps with concrete or grout and let it set. It would probably be best to line the mold with plastic wrap or spray a lubricant on for easy removal of finished piece.
interested in how to do this as it is very effective and look sensational
I love the butterfly stepping stones set on inside of honeysuckle bushes behind our house but there is poison Ivey and other weeds. Great idea!
Do you have instructions yet? They are beautiful.
We are STILL waiting on the instructions that you promised (nearly one year ago) to furnish.
In May, 2013, the designer said there would be instructions soon. Where are they? It is almost a year later.
Here are two places with instructions, fabulous finds.
jeffreygardens.blogspot.ca/2011/08/building-pebble-mosaic-stepping-stone.html
and
thegardenglove.com/diy-garden-stepping-stones/
Jeffrey Bale is the creator of most of these mosaic stone paths. He has posted general directions on his website. Several people have also posted links to instructions. You can also google instructions. These are not as easy to create as they look…lol, and I don’t think you’ll find specific instructions to recreate one of his installations. He mainly gives directions about sorting rocks, adhesives, planning, and measuring.
use google and search for mosaic in garden or something else with mosaic – you will find a lot of instrustions and your fantasy will do the rest ,-)
Hope this helps,
I learned to do the design in reverse sticking it to tracing paper with flour and water paste then turning it over onto wet cement and level it off. Once the cement is dry wet the tracing paper and peel off. This helps keep it all level. Another way is pressing stones into a frame/wooden tray of 1 inch sand then back fill with cement turn over when dry.
I think the thing they are spraying is water and they have lain the stones into dry cement. You just water it and let it set. then fill with grout and polish it all up. You can varnish the stones as well so they always look wet and shiny.
OMG I would LOVE to have some of these at my kindergarten centre particularly the indigenous and butterfly….I want, I want, I want!!!!! would be good advertising for your company as we have over 200 families and all in.a new area where parents neex paving and the like