Have you ever wondered how do some people manage to decorate their garden in a wonderful way? How can they implement something nice as a fire pit without the help of professional help? The trick is in the technique, which can be taught and learned! Here is where this tutorial comes into play. Read through the instructions and use the images as guideline in order to make your own professional looking fire pit. This is what you will need:
• a shovel;
• a kit of retaining wall units or a bunch of bricks;
• a cubic yard of coarse concrete sand;
• some string;
• a can of marking paint;
• a pair of safety glasses;
• a cubic yard of gravel or lava rocks;
• some large flat rocks;
• concrete adhesive;
• a tape measure;
• a stake;
• a rake;
• a wheelbarrow;
• a mallet;
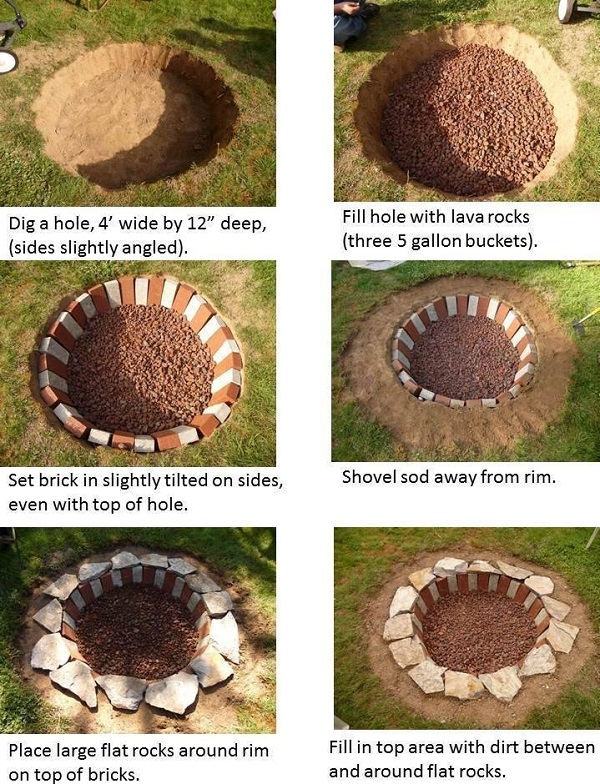
The first thing you have to do is decide on the size of your pit and then use a string, cut to the length of the radius of your future `circle of fire`, in order to have a close to perfect measurement. Place one end (wrapped around a stake) in the center of the location of the pit and the other end tied to a can of marking paint, and start drawing a circle with it. With your pit all marked, take the shovel and dig out a 12-inch deep hole. Then, make a sturdy base by spreading a 4-inch layer of gravel or lava rocks. Rake the top layer flat and continue on to placing the bricks or retaining wall units secured into the base with a mallet. Use the shovel again, but this time to remove sod away from the rim of your pit. This is necessary because you must place flat rocks all around the pit, in a circle. Make sure they sit partially on the bricks and the spaces between are filled with dirt. Done! The fire pit looks professionally and you made it with your own hands in a matter of hours. Congratulations!


Supply list states “concrete adhesive” however, the instructions don’t say anything about using the adhesive. Please explain the use of the concrete adhesive. Thanks
Also there is “a cubic yard of coarse concrete sand” mentioned but no instructions on that as well… :/
(& no edit feature on the comments)…
My guess, using my limited memory of past readings of DIY fire pits… The sand would go down before the gravel… to help with drainage & to allow leveling of the bricks… & I would assume the concrete adhesive is for either adhering the bricks together (would need to be high heat) but more likely to adhere the flat rock to the brick ring. Apply adhesive to top of bricks & then set flat rock in place.
Again ~ my guess… would be nice to have complete instructions though. 🙂
I think this would also be a pain in the neck to clean out
[…] 10. Cheap and Easy Fire Pit […]
[…] it’s nice to sit by the fire and relax on those summer nights. Goods Home Design has all the information you need to add a fire pit to your […]
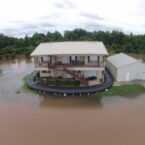
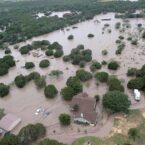
I see 2 obvious issues with this design. First, a major rain storm and it will become a Koi pond and Second, it’s going to be a real pain to clean.
this really nice