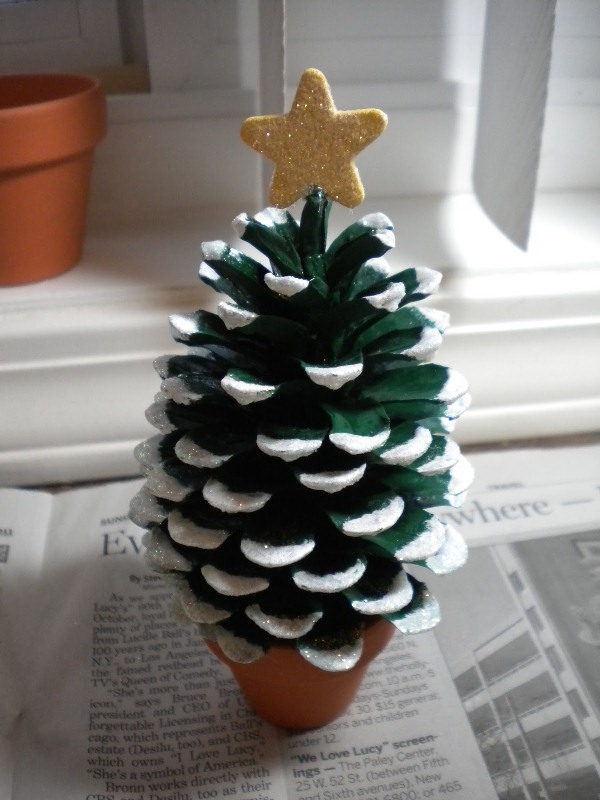
The next project it’s a beautiful DIY that fits perfectly in your home. In this time of the year, we all are looking for the most suitable decorations ideas. So, the next craft idea is easy, simple, and cheap. Pine Cone Christmas Tree!
You will need:
Pine cone
green acrylic paint
glitter
hot glue
regular glue or Modge Podge
mini terra cotta pot
mini star (optional)
Instructions:
1. Paint the pine cone with green paint and let it dry.
2. Apply some regular glue on the edge of each spine on the pine cone and sprinkle some glitter.
3.Once it’s dry, hot glue the pine cone to the terra cotta pot and glue the star on top.


Make sure that the pine cone has been indoors for quite a long time, before you make a tiny Christmas tree, just to be sure that it has fully dried and opened before you paint and/or decorate it.
I made a painted one, years ago, but it wasn’t fully open at the time of painting, so when it eventually did, the paint job didn’t look as good anymore.
If you put a pinecone that isn’t quite open yet in water it will become fully opened in 12-24 hours.
does it have to be warm or cold water? How long should they dry then before you paint?
Just put the pinecones on a cookie sheet and put them in the oven on 200 degrees for a couple of hours. It will dry them out and will make the house smell good, too.
What a unique idea.
Nice, maybe I can sell them and pay off my college loans.
Is there something else I could use, instead of hot glue? Thankyoux
Do the pine cones have to be cleaned, or debugged? Is there a way to tell if they have any critters in them?
Actually, I did this one time with my special ed. students and was so disappointed that the cones were closed. We painted them anyway (White for snow), added glitter and hung each from the class Christmas tree, back when you could actually have one in the classroom. The next morning they had opened and were BEAUTIFUL. So beautiful that one of the teachers decided to make some for her own tree. The tips were painted with such precision that one mom questioned that her child had even painted it. lol.
We did these and painted them green, gold or silver and put the red and green pepomint candies in between the little spaces.