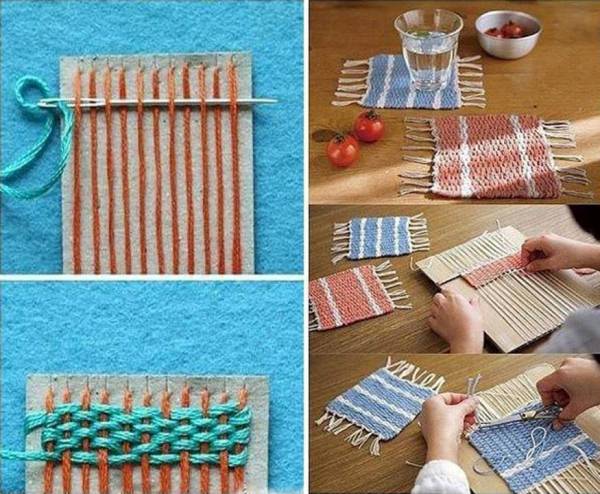
As you already know, we just love DIY projects, and today we found a really great one: woven coasters. It is quite easy to make them and you’ll see that once you are done with the first one, the rest are becoming simpler and simpler. For this project you will need: string, yarn, a ruler, yarn needle, 5″ x 41/4″ piece of cardboard. We will now show you how to make a triangle woven coaster.
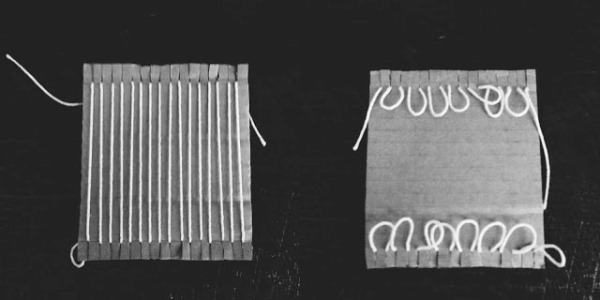
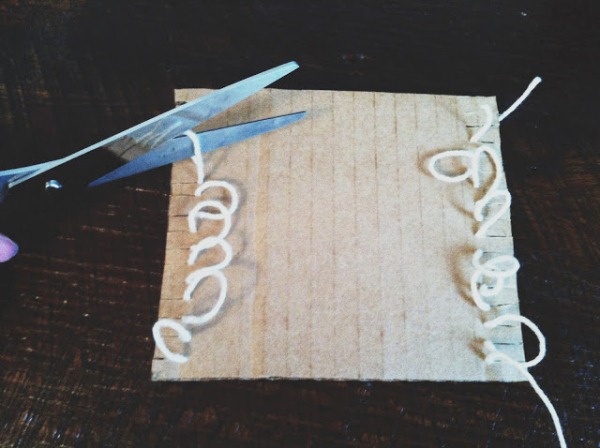
First of all, take the piece of cardboard and measure 1/4 inch sections then draw some lines to cut the 1/2″ segments for the string. Tie the string through the first segment and bring it to the front and across the front of the cardboard towards the opposite segment. Repeat this technique again so to obtain some segments which are called “bunny ears”. Repeat the whole process until you manage to fill all the segments. Now, here comes the “crocheting”.
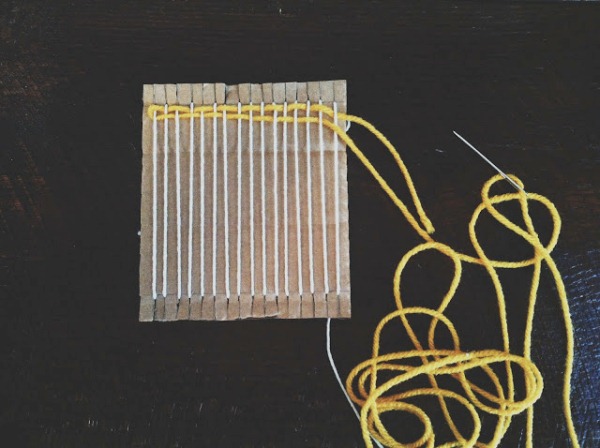
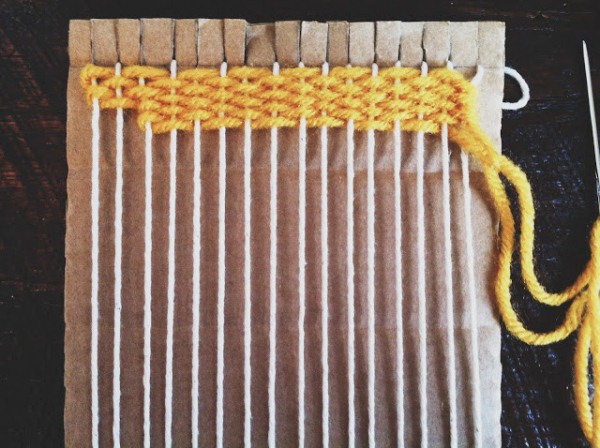
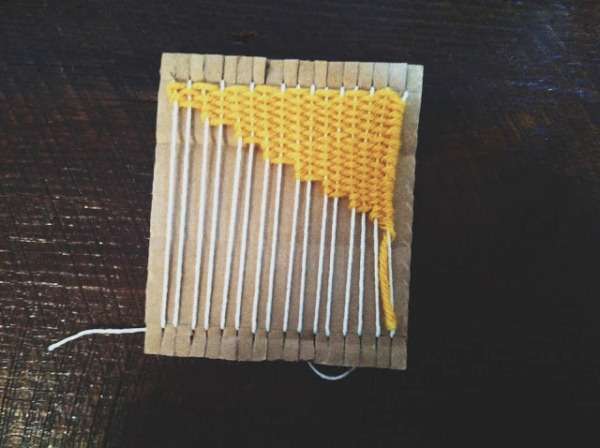
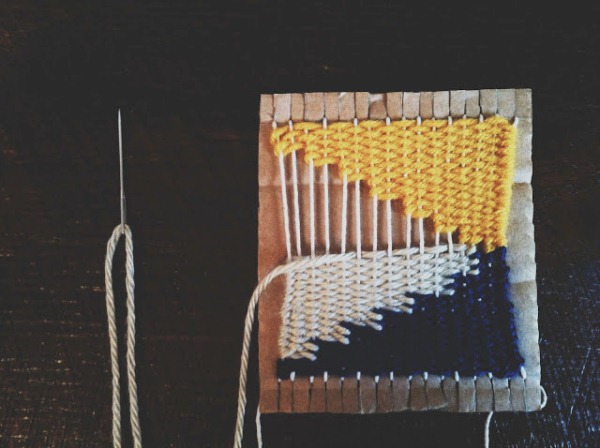
Start from the right side of your cardboard and keep on pulling the yarn under and over till you reach the end. Leave the end as it is, without cutting the yarn.
Then pull it back again, but now from the left side of the cardboard – it is just the opposite of what you did with the row above (this part should not match the one above – this way you’ll get the striped coasters)
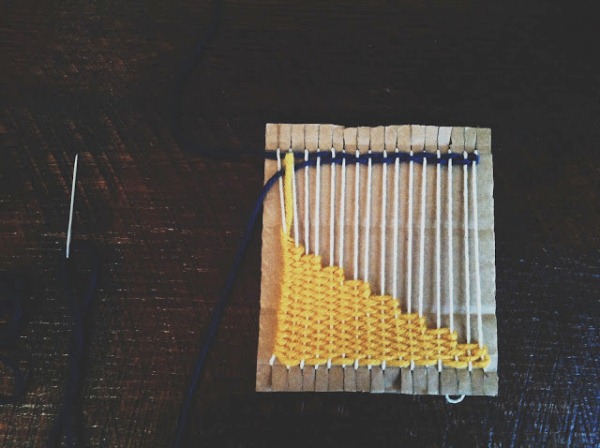
Make sure not to pull the strings too hard as it won’t be uniform, because some parts of the string risk to be left out. Pull four segment left and right. When you reach the fifth segment (toward the left), finish it with two strings, but don’t go till the end of the row.
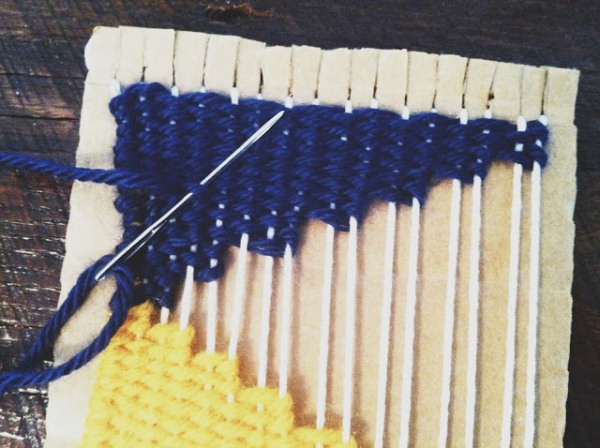
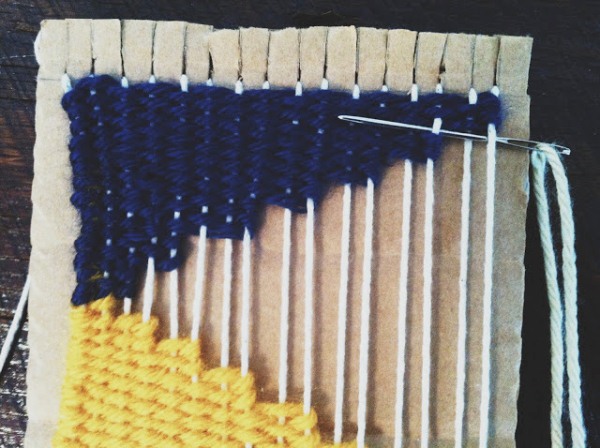
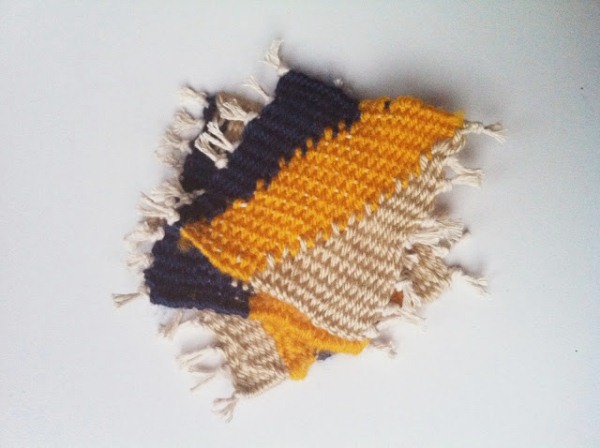
This way, you start a new pattern which will be repeated with every second row, until you have no string left. Then just turn around what you did until this point and repeat the whole process with another color of string (here, we chose a blue string). Continue until the two colors meet in the middle. Now you will take another color of yarn (here, a beige one), and pull it through the blue one. Be sure not to cut off the loose ends. Separate the ends of the rows you have already made so to see more easily where you are supposed to unite the rows. When you reach the end, pull in the loose ends. Then cut the yarn left at the end of each row, and tie them together in pairs.
Be sure to remove the strings gradually, otherwise your whole work will fall apart. Swap the sides at every 3 pair of strings – this way, your work will not fall apart.

