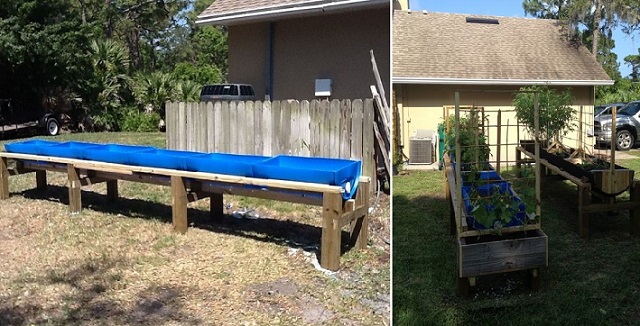
If you have enough free space in your garden it would be a pity to waste it. The ideal way to use that space is to plant something, but that would be a lot of work and maybe even some future troubles. So in order to avoid that, you can make a raised planter that will help you organize your garden in a more efficient way. To build such a planter you will need: treated lumber, 55 gallon juice drum and lots of tools (hammer, drill, screws, saw, etc.).[Read all details step by step in the link below]. First you will be making the place for the drums, by making a support for them. Create wooden legs for the support to stand on, in order to assure extra stability to your structure. Once every piece is done, connect them and assemble the planter. Install the drums and create holes for drainage. After that you can start planting, just make sure to water your plants regularly and protect them from pests.
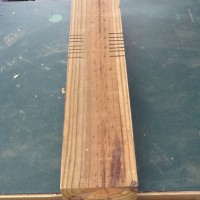
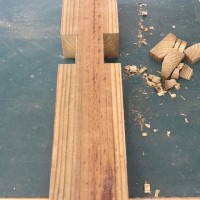
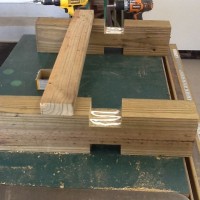
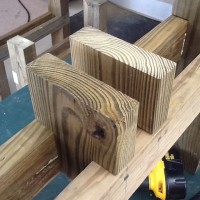
Step 1: Assemble The Assemblies
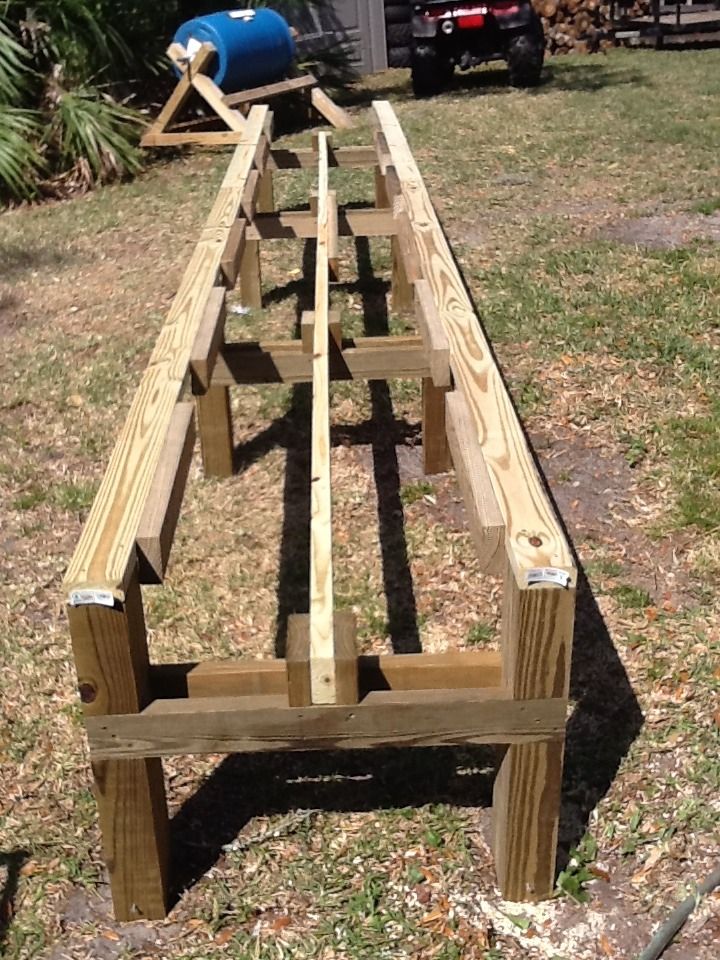
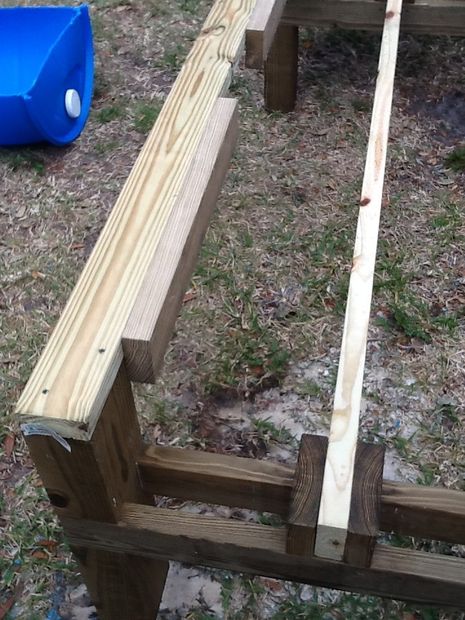
Step 2: String Them Together


The Link is missing.
under last picture, click on raised planter stand.
Where do you find juice barrels?
Look on craigslist. People resell them. Just be sure it was a food product that was transported in them.
How very nice we would love to make one of these, Thanks for sharing..
The link for the juice barrels is missing. Can you use other barrels?
I love this idea. Going to start working on getting this made for me for this coming season.
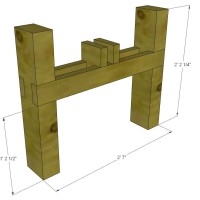
Awesome idea!! I’d like to use this as a horse trough, but can not see the dimensions on the picture of the frame. Can you please send me the dimensions?
Thank you,
Don
Instead of all this lumber, nails, saw, buying drums then having to cut them in half, I did my raised garden with dicarted long and round patio tables with the glass missing, most people will give them away, I put each leg on an old red brick, then hit the flea markets to find cheap but sturdy old round tubs or kiddie pools, perfect size for the patio tables. I spray paint the outside of pools with earth green paint but leave the old metal tubs alone, the weight of your soil alone will hold each one in place, no need to fasten them, get creative with old iron tables, big or small.. It’s enough work just tending the garden, Have fun and watch your garden grow !!!