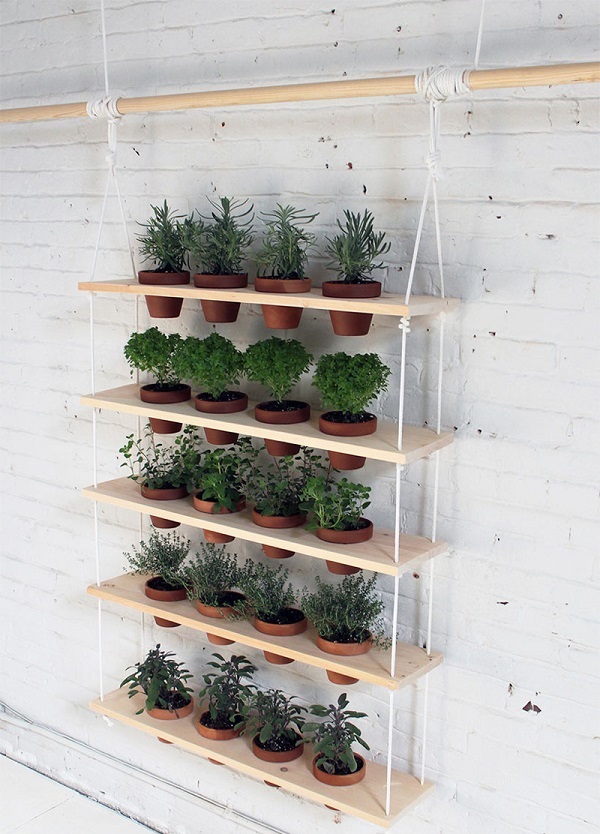
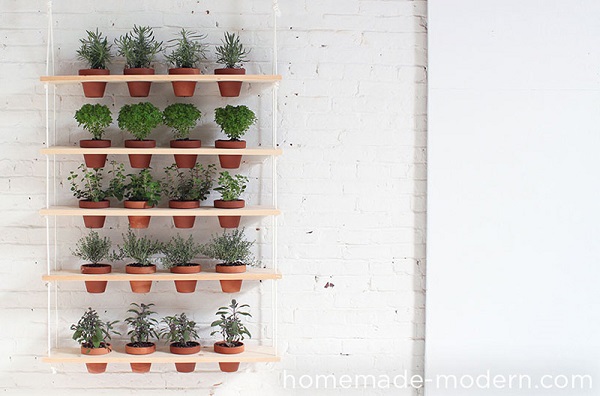
If you want to have a garden in your living room which will both improve the interior design and provide you with a fresh supply of oxygen, than we have just the thing for you! Most of the times, people feel discouraged to plan and install a garden in their homes because of the lack of space. That’s true if you think in a traditional one dimensional way. But if you choose to build on the vertical, your space issue is solved and the decor is considerably improved. Put your preferred plants organized by type in layers and the garden can begin functioning. We warmly recommend you don’t dwell on the decision for much time and make this DIY hanging garden immediately when you have the opportunity.
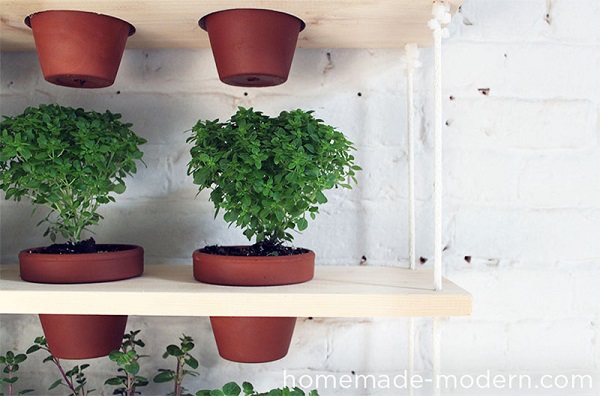
Although watering the plants will prove tricky, using glass bottles and wire at the bottom of the pots will deal with your water drainage issues. Either way, here is the list of materials needed for the project:
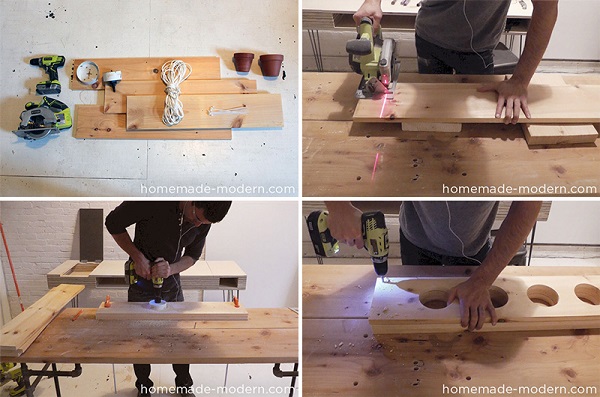
Tools:
- 18 Volt Cordless Drill
- Milwaukee 4″ Bi-Metal Hole Saw
- RYOBI 18 Volt Circular Saw
- Husky 7″ Diagonal Pliers
Supplies / ingredients:
- 4″ to 5″ Terra Cotta Flower Pots
- 3/4″ Pine Boards
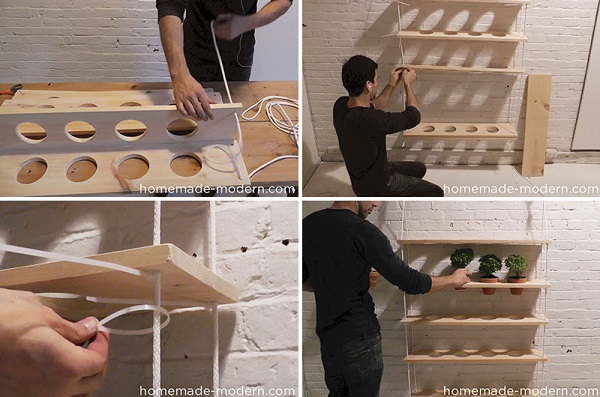
- Rope
- Zip Ties
Start by cutting the boards in half with the circular saw. This will help you place 4 plant pots in the most appropriate manner. Next, make the holes (for pots and ropes) into the Pine boards, remembering to leave 2 inches between the holes for the pots, and another 1 inch between the ropes and the edges. First mark the holes with the pencil on one board, stack all of the boards on top of each other and then take the drill to punch pilot holes through all. This important trick will make sure your entire garden is aligned and looks nice in the end. See all details in the link below..
Hanging Garden – homemade-modern.com






Knap gedaan heel origineel