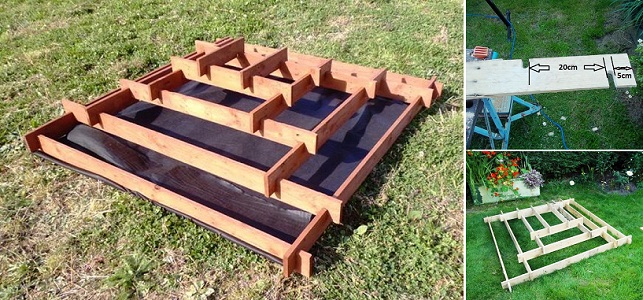
Bringing an improvement to your garden design seems like a giant task. But if you plan thoroughly in time and have a detail oriented approach, it will be much more easy. Look at this handy simple project. It’s a DIY pyramid planter which has a slot-based system at its core. You only have to make a few cuts from and into the pieces of a pallet and then just arrange your planks and plants to obtain an impressive beautiful garden. Start by grabbing the following materials and tools. Good luck!
• reclaimed pallets;
• pencil and square;
• a tenon saw;
• electric drill and spade end drill bit;
• sandpaper;
• a chisel;
• wood preservative;
• compost;
Click on image for larger view
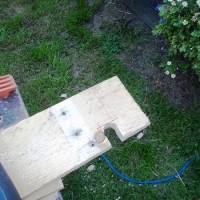
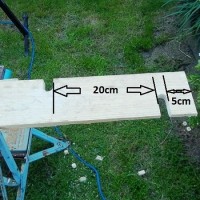
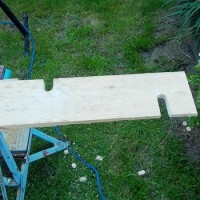
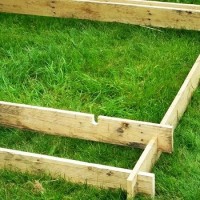
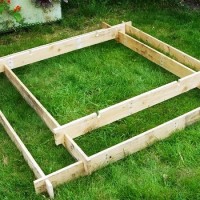
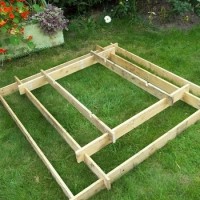
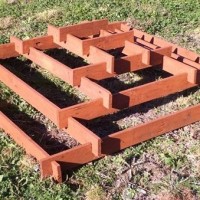
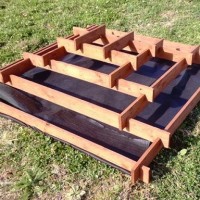
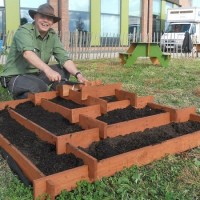
Use the saw to cut large pallet deck planks (2.4 m long by 1.9 cm thick and 9 cm wide) into 1.9 m long ones. Doing so will make it easy to build the 1.8 by 1.8 square meters of the first structure. Begin with the first corner slip joints. These joints should be made (with the drill) at a distance of 5 cm from the end of the planks used. Actually, this is used for each of the tiers. Also, take into account that you should set the slots for the tier above at 20 cm in from the slots from the one below it. Continue onto cutting the planks smaller and smaller, for each of the squares to add up into a beautiful pyramid structure. Check to see if your work matches the planter in the images. Does it? Good! Apply a few coats of wood preservative and pour in the compost. Feel free to plant whenever you want to!
source and more details: instructables.com