If you want to have delicious tomatoes all year round, you should grow them yourself. Store-bought tomatoes are not always tasty and fresh, plus they can be expensive if they are not locally grown. To avoid spending your money on things you can also produce at home, here’s a cool tutorial on how to grow your own tomatoes in buckets. If you’ve done a bit of research about growing your own food, you can see that there are some plants that grow beautifully if planted in a bucket. This is also the case for tomatoes, and growing them in buckets can be really helpful if you don’t have a garden. The system that you’ll set up for this project is a self-watering one and it can sustain more buckets at the same time. So if you would like to learn the steps of creating your own bucket for growing tomatoes and other useful tips and tricks, check out the following link.
“My new fertilizer seems to be promoting blooming over foliage growth. At least I am not getting the large bushy plants I had last year. This year I am trying Jobes Organics Vegetable & Tomato fertilizer this is listed as a 2-7-4 plant food made from bone meal, chicken feather meal, and composted chicken manure with additional beneficial bacteria and fungi including mycorrhizae.”
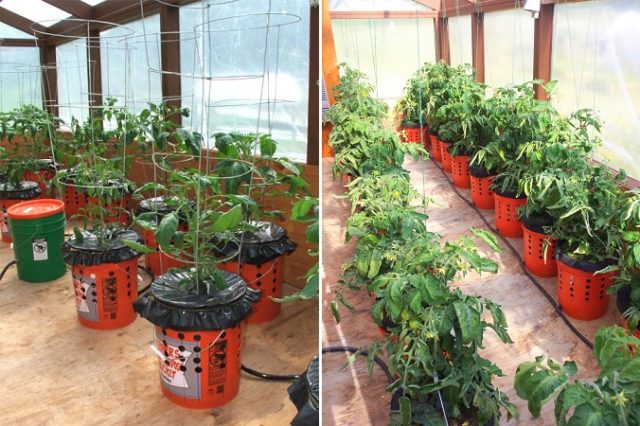
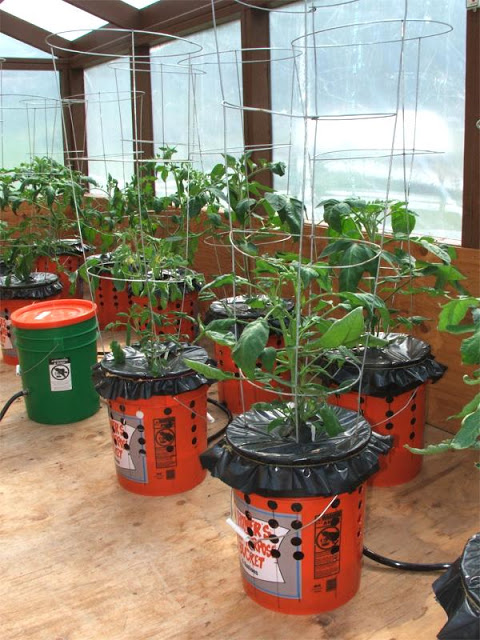
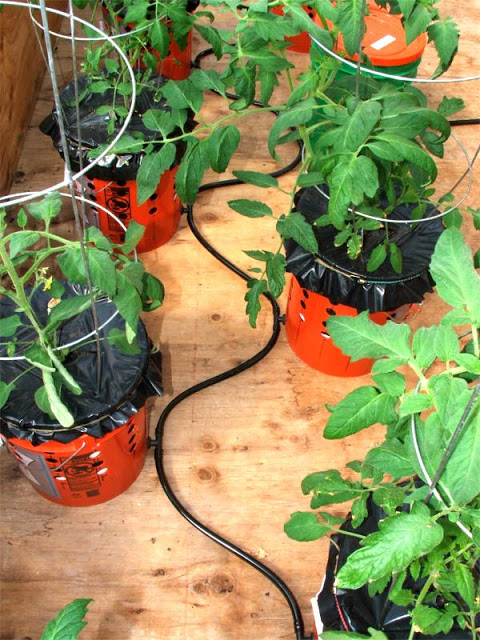
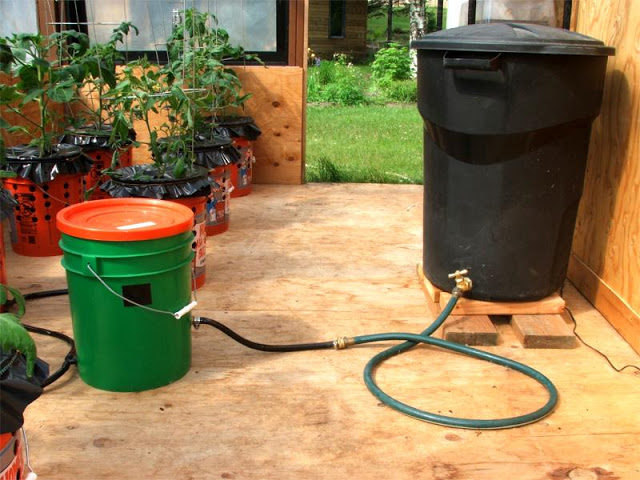
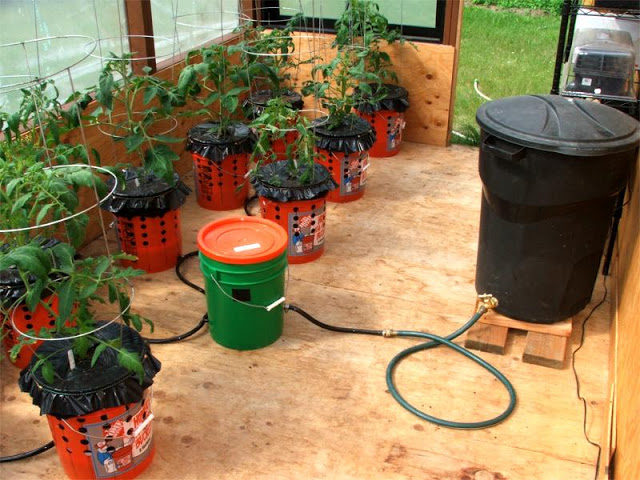
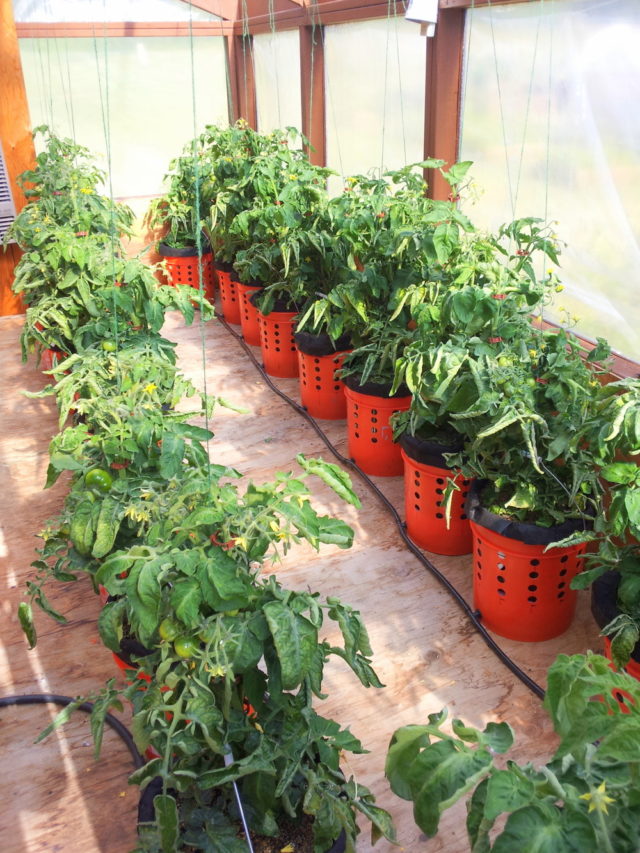
“All of the Grow Buckets are connected by a single gravity feed 1/2″ flexible vinyl tube that is fed by a float valve regulator in the green bucket with the orange lid in the upper right corner of this photo. This maintains a constant self-watering irrigation system that requires no electricity.”
“The Float Valve Regulator in the green bucket is connected to a 35 gallon gravity feed reservoir made from an inexpensive plastic trash container. At this point in the season I simply refill the bulk reservoir about every 2 weeks. As the plants continue to grow the water needs will increase and the refilling frequency will also increase. The beauty of this system is that the peat based growing medium will absorb the correct amount of water to remain moist. So the system is self regulating – as long as the water supply does not run dry.”
Everything you need to transform your own common 5 Gallon plastic buckets into a complete self-watering container gardening system.
Well suited for growing tomatoes. peppers, eggplant, cucumbers, and many other popular garden vegetables. More details here…
Read more details about Alaska Grow Buckets project here…





My only concern is all the plastic when plastic gets hot it leaks a chemical and the roots absorbs it.
I doubt that it will get hot enough as it has a lot of holes in the buckets and the water system probably cool it as well.
by the way sorry for the avatar i really have no idea how it got there and how to remove it
Go t o Wallmart in the bakery section and ask for their 5 gal buckets. They are Food Grade through out
So how did you create the float valve regulator bucket?
This idea makes lots of sense. I have awful dirt. I would like to try this.
Thanks
Am going to build this. Will let you know later how it works
wonderful
I grow in raised beds, the tomato’s do real well. In my area buckets dry out very rapidly, is the answer just simply more water? Good Post!
hi rocky here is the organic mix in the plastic bag inside the bucket with holes on the bottom
or could you explain the process for me please new to this and my kiddies are wanting me to help them grow toms
thanks heaps regards rachel rei
maybe the shoping bag goes upside down so the handles are in the water and water goes up by capilarity
I’m very interested in trying this. We live in North western Maine from May 1st to November 1st. I would love to be able to grow more veggies. I have a roll of landscape fabric. I wonder if that would work instead of the fabric bags? And have you used this with cucumbers?
It looks like you’ve added black plastic tarp over the top. Why’s is that for?
Should the grow bucket bag be canvas or cotton or does it matter?
Rene