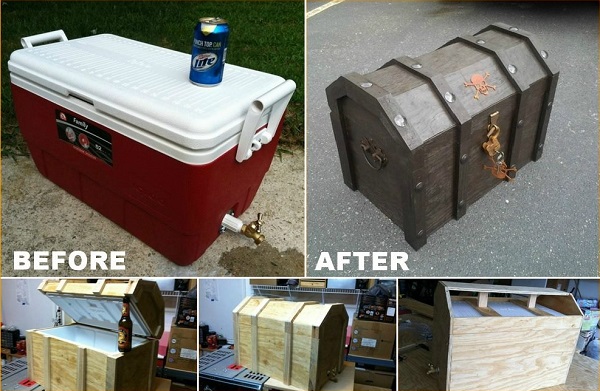
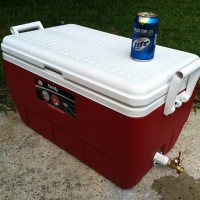
Don’t know how to improve your road trip? Here is a nice idea we think you might like: transform your ordinary cooler into a DIY treasure chest cooler! This particular type of cooler we are about to show you is perfect for trips to the beach, where a pirate theme is always suitable. The chest cooler not that heavy as it looks, but you might want to install handles on it for when you need to go on a picnic and the cooler must hold all of your beers and meat at a chilly temperature. Here is what you will need for the project:
• a 52 qt igloo cooler (or any rectangle cooler);
• some 1/2-inch threaded PVC fittings;
• a typical hose bibb;
• a 1/2-inch flange;
• some 5/8-inch pieces of plywood;
• pallet lumber;
• a saw;
• a drill;
• a bit of wood glue;
• 4 stainless steel screws;
• door hinges;
• a couple of vintage handles;
• sander;
• a nail gun;
• galvanized nail;
• rustic nail covers;
• some dark stain and sealant;
• a escutcheon plate;
Click on image for larger view
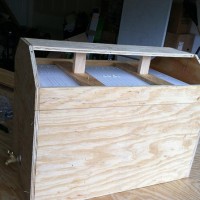
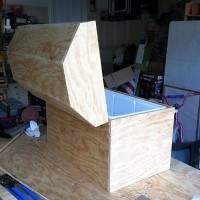
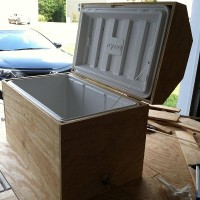
As you can see from the pictures, the build is not that intricate, but it requires some measurements and assembly. Start with the bottom piece of plywood at the same size as the cooler’s base. The height should also mimic the one of the cooler. Bear in mind that you don’t glue the cooler to the wooden chest, but use the latter as a storage unit. That’s why the size of the wooden encasing should only be a bit bigger than the cooler itself. The only thing that connects both boxes is maybe the drain, which goes through the box itself. Also, screw the base so you can clean it easily or replace some parts if it breaks later on. For the lid, this is going to actually stick out of the top cover of the wooden chest, so build it with the lid of the cooler closed on. Just remember to add transverse supports like shown in the image, secured with steel screws, in order to make the structure a lot safer.
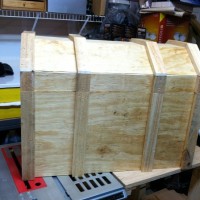
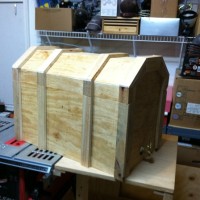
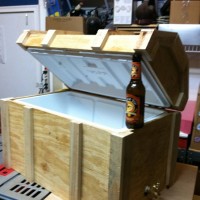
Install the hinges and sand the whole thing. Take the lumber pallet and feel free to cut it in any way to get a similar look like this project. Maybe some angle cuts or L channels will be needed, so don’t shy away from those. Nail them to the chest and maybe use some wood glue to make them stick to the wooden box. When this is done, sand the whole DIY structure once more. Apply the stain and a couple of coats of sealant. You could stick some pirate decorations to it, in order to give the chest a more authentic feel. Don’t forget to use the escutcheon plate where the drain valve goes through. It is done! Impress everybody at the beach with your cold drinks and sandwiches.


source: imgur.com